Listing a product on FriendWithA doesn’t need to be a time consuming and expensive pursuit. You can do it at home, you can do it quickly and you can do it well. Check out our tried and tested tips below to see how you can get snapping with impressive results in no time.
1.Learn about artificial light vs natural light
Lighting is an essential part of producing great looking photos. It’s a key element in dividing the good product images from the bad, so why not invest a little time into getting your lighting just right. But before you leap into Mario Testino mode, there are a few points you need to know first.
What is artificial light and when should we use it?
It’s the kind of light you generally find indoors and is ‘man made’, as opposed to natural light which comes from the sun. It’s the fluorescent lights you sit under at work and the fitting room lights in a department store. Artificial light is pretty much exclusively used to photograph commerce items and people.
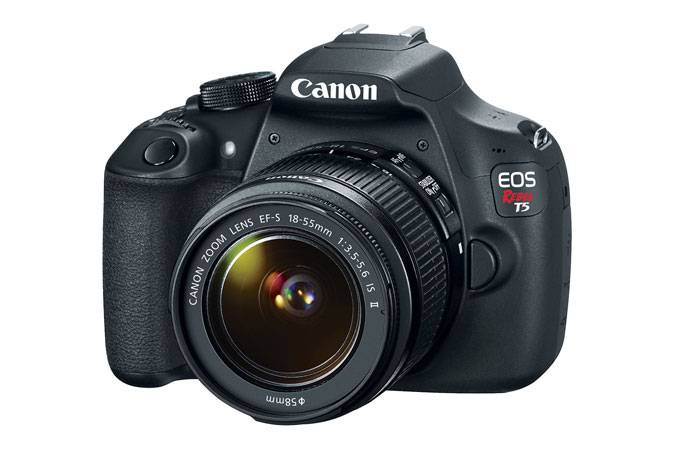
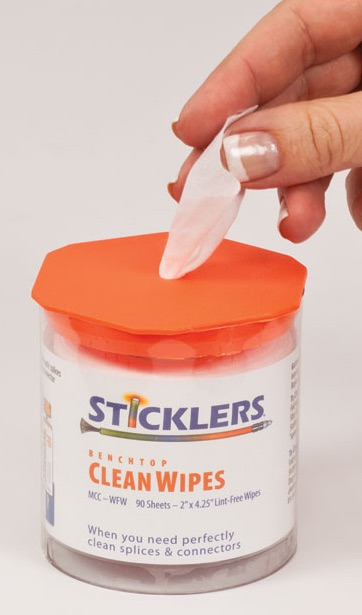
Here’s an example of artificial light being used for a product.
The image is sharp, the details are clear and all the proportions can be seen in this lighting.
By working with artificial light, it’s possible to control the intensity of the light, the amount of light needed and its longevity. You don’t need to worry about sunrise and sunset with artificial light. You can also control the depth of field. If your product is fairly small and has some detail you want to capture e.g a piece of technology, artificial light might be best. By using artificial light when necessary for your products, you can gain a great looking and consistent portfolio of listings.
What is natural light and when should we use it?
Natural light is light from a non electrical source. Daylight is the best source of natural light. Natural light is alive with color, it’s sharp and defined. It doesn’t have the yellow tinge artificial light does. You can photograph products inside using the natural light from a window but it’s hard to get the balance of light coverage on the product and difficult to prevent shadows. This awesome article goes into detail about the types of natural light you can find in photography.
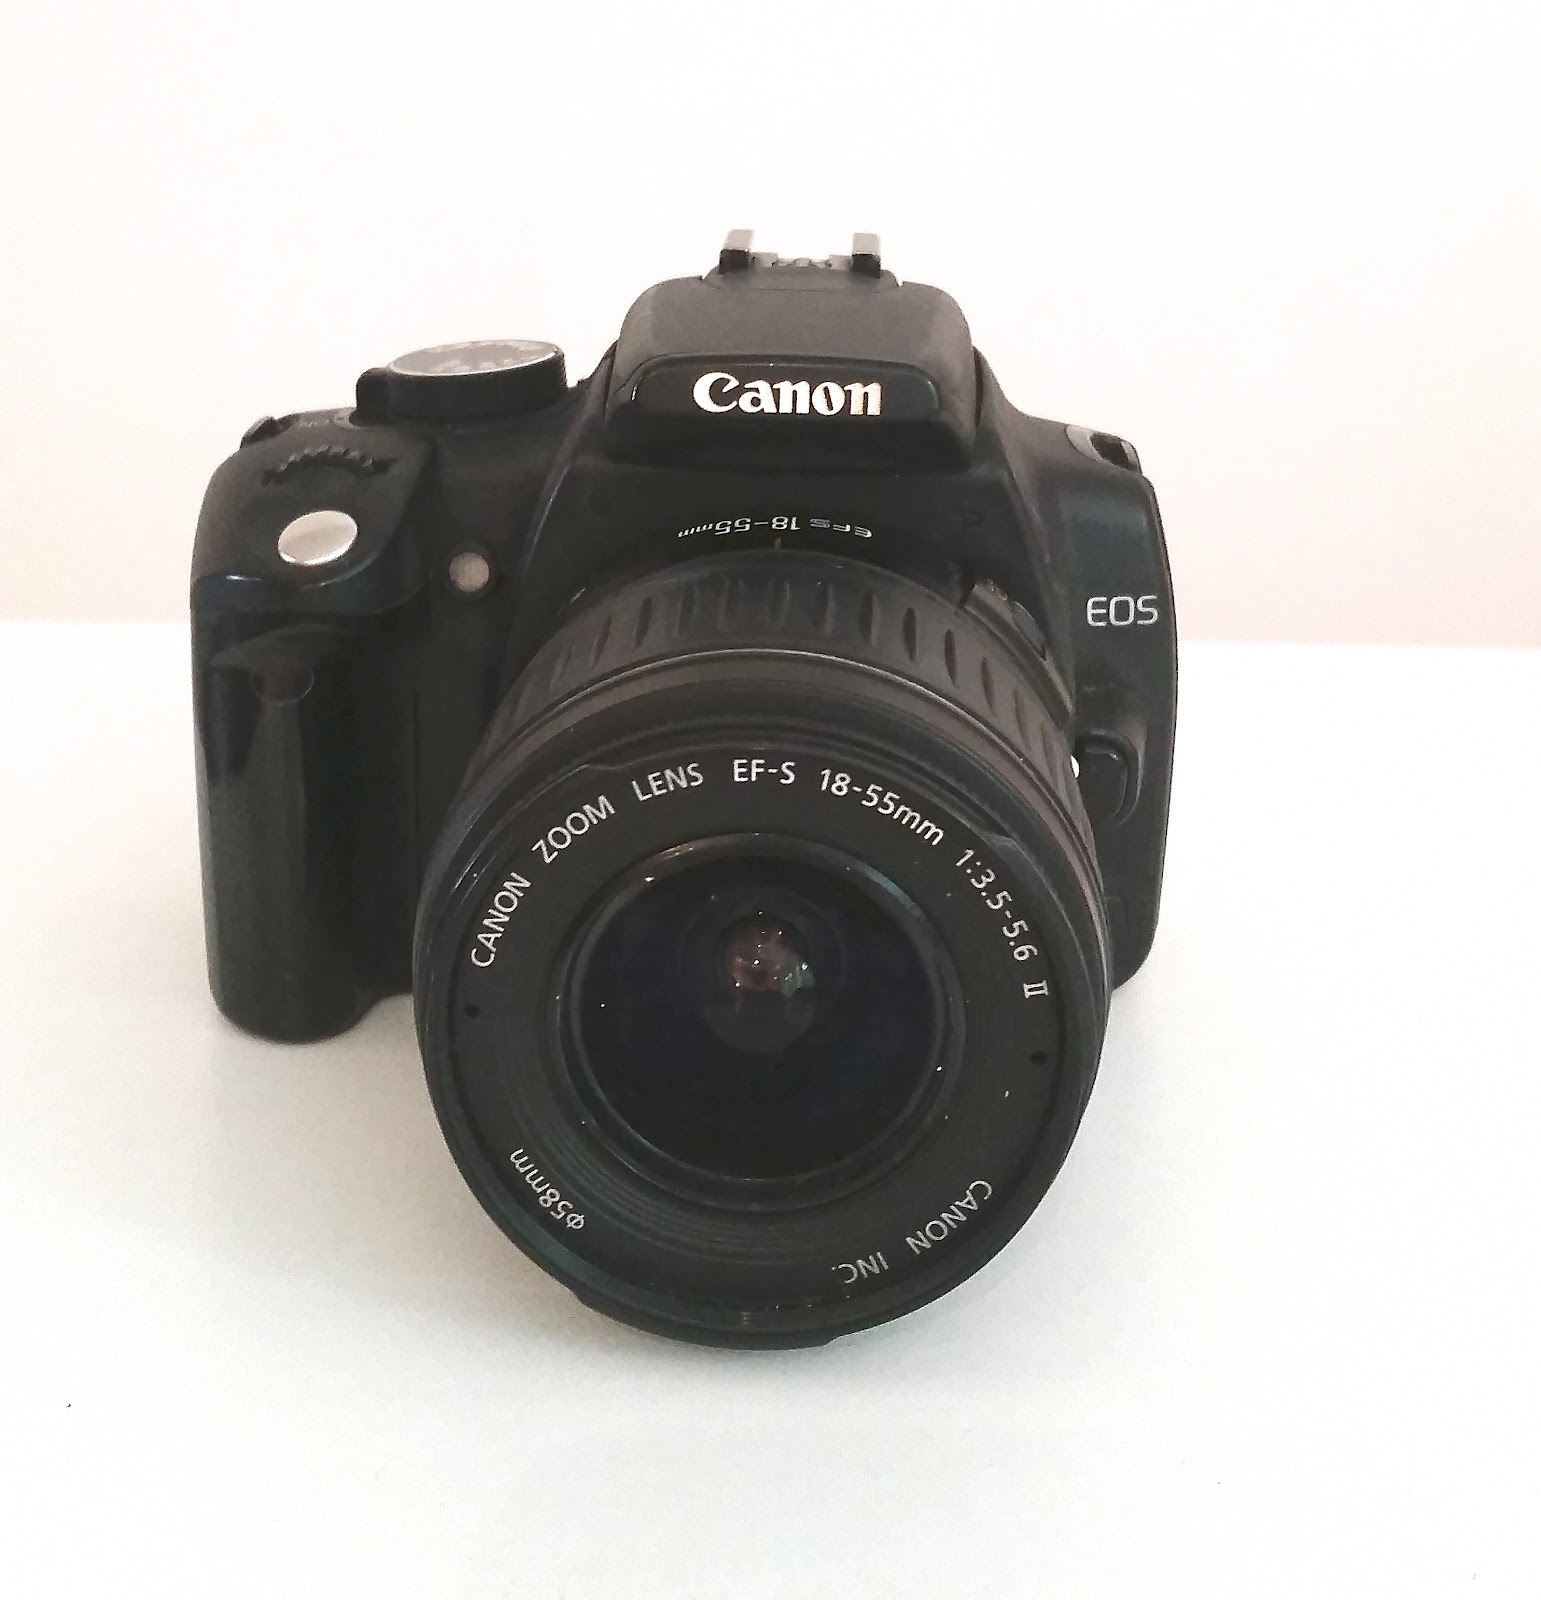
Here’s an example of natural light being used for the same product as above.
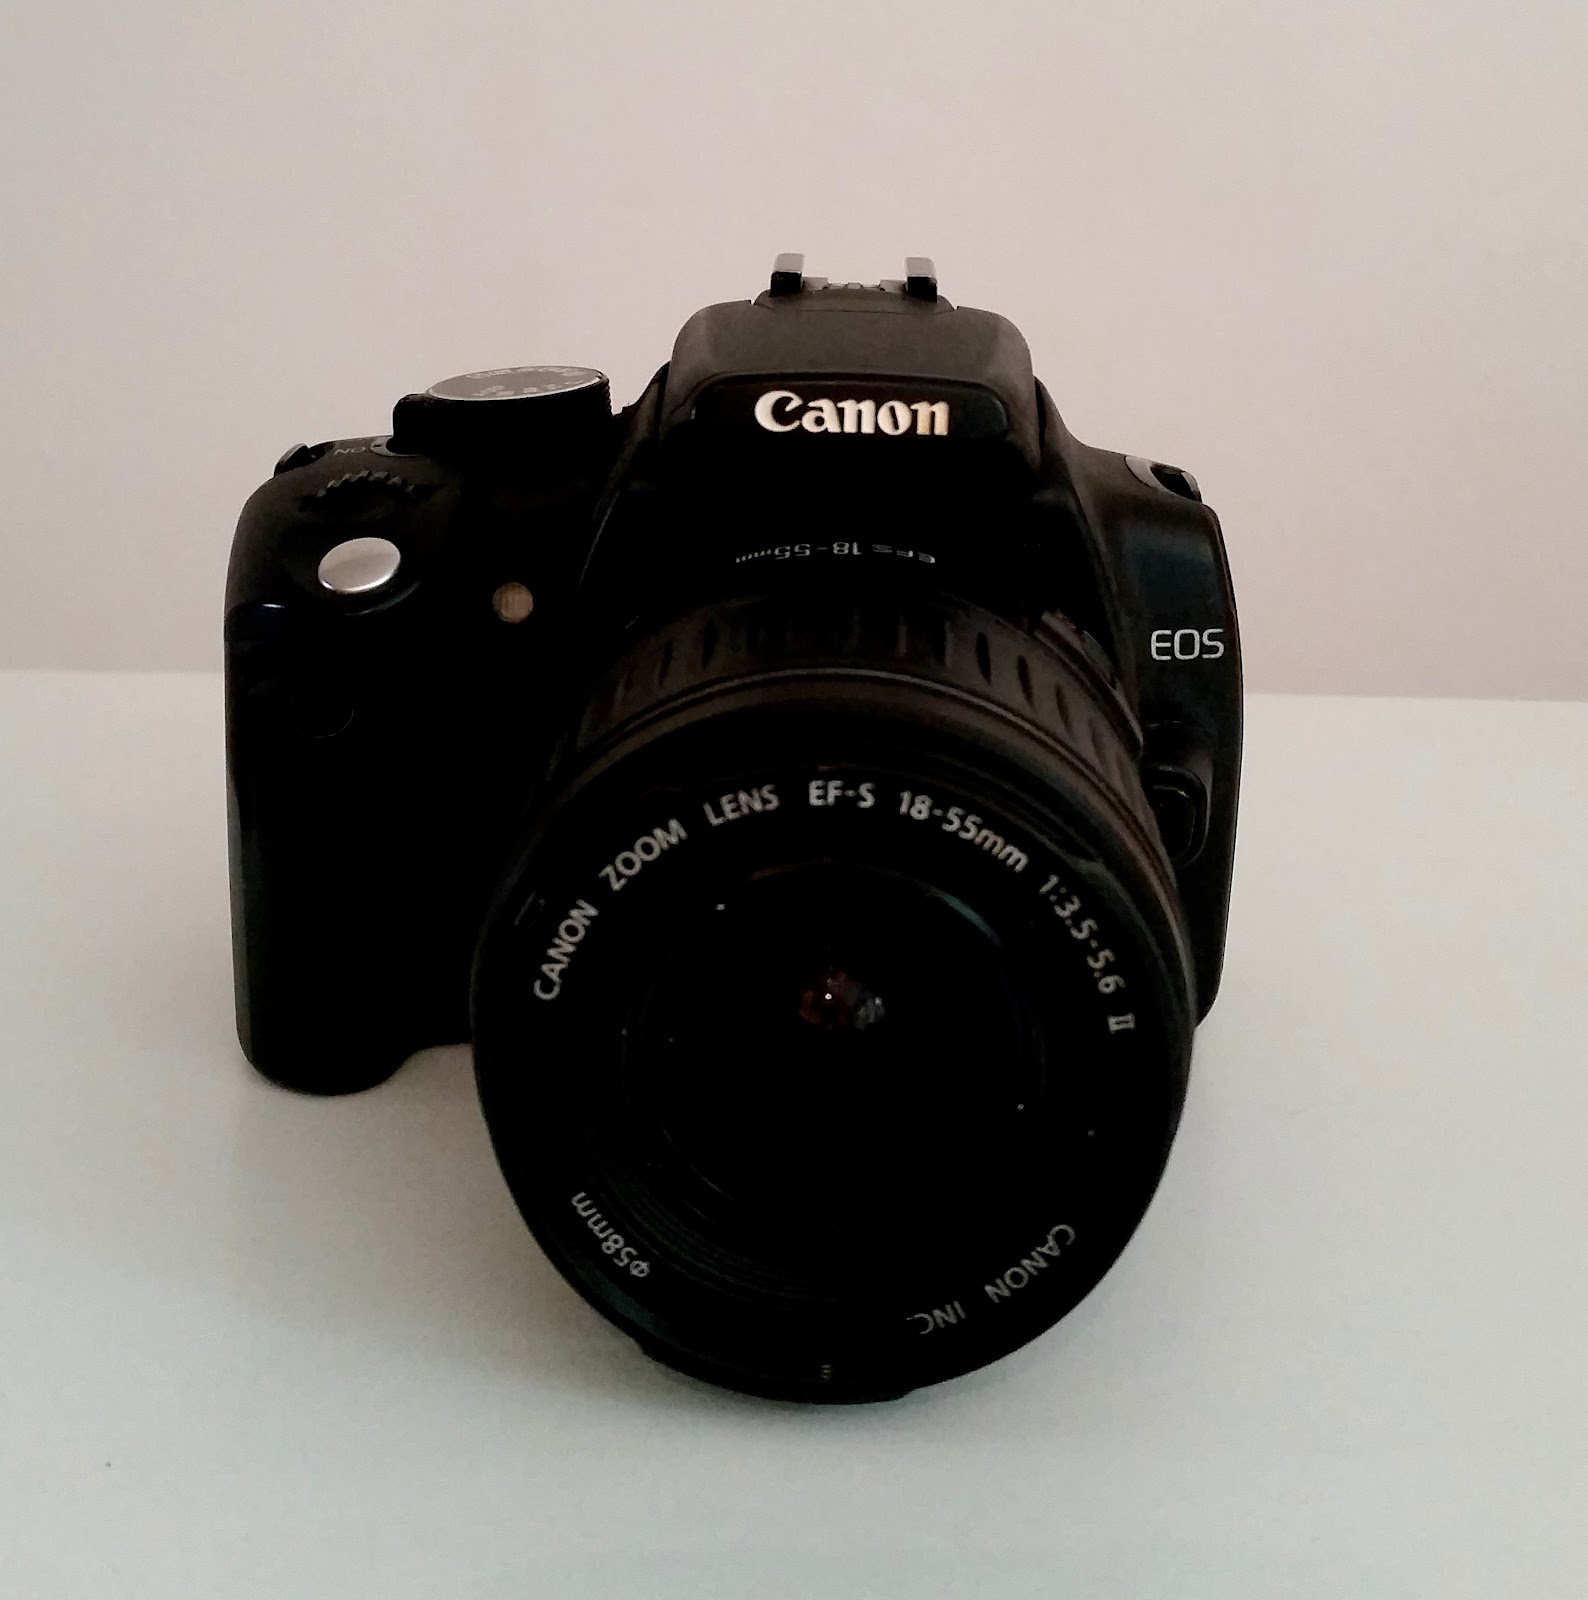
It doesn’t look as clear does it? Less of the detail can be seen and its proportions aren’t as vivid as with artificial light.
As a general rule, if your product is used outdoors like this boat rental by Invert Sports, it should be photographed there, in natural light. Think of it as being photographed in its natural environment, making it more enticing for the renter to imagine themselves using it. Try to avoid direct sunlight though, it might cause unwanted shadows and reflections that ruin your shots.
Here’s a great photo of a bicycle taken outside in natural light.
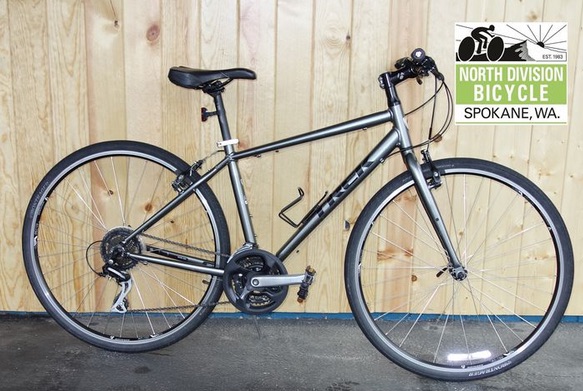
It’s a perfect match of product and lighting! It’s bright, detailed and looks ready to ride...
2. Make sure to take multiple angles
Don’t just upload one photo. Give your potential renters some more information with a selection of angles to highlight your product’s different features. For example, this Snowboard listing from Stefan has three photos.
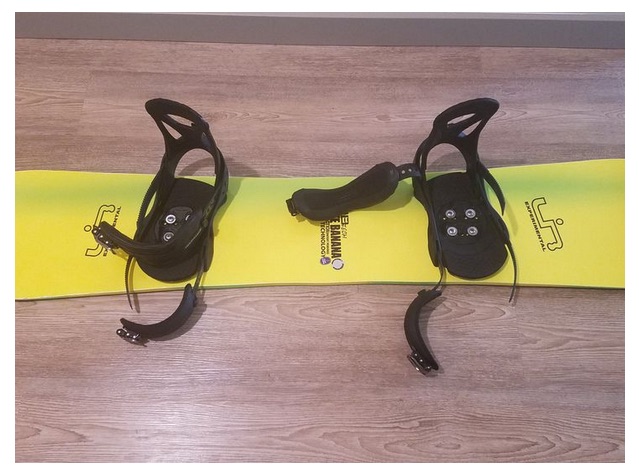
The main photo shows the basic design and detail.
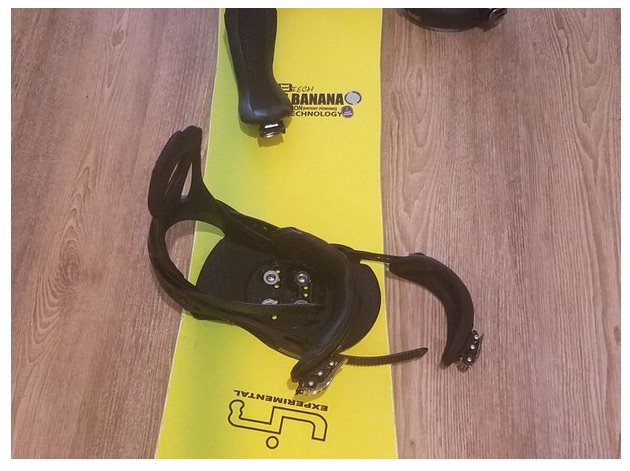
The second photo highlights the snowboard bindings and the brand.
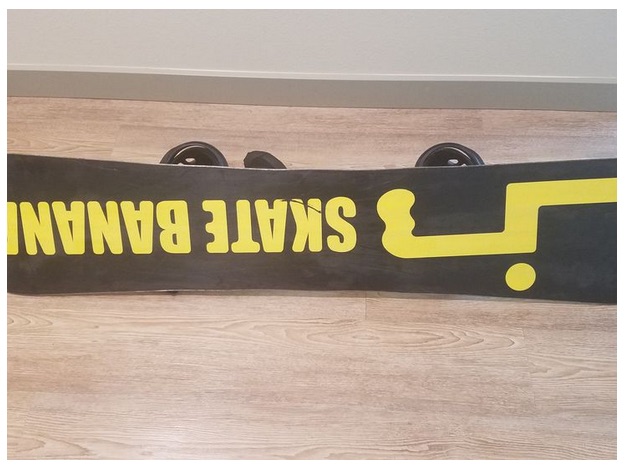
The third shows the design of the back of the board.
Now the potential renter has way more visual information to go on, coupled with the written product information on the product page, and is in a better place to consider a rental. Awesome!
3. Sweep your photos
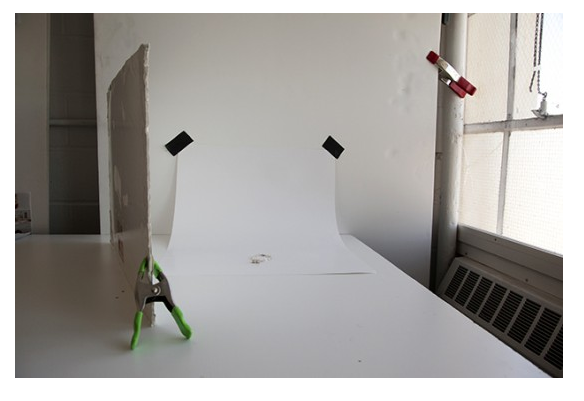
What is a photography sweep?
It’s a way of creating a white, endless looking background for your product by using poster board paper. It’s commonly used for listings on Ebay, Amazon and other online e-commerce retailers.
Without a sweep. With a sweep.
credit@amazeal credit@thorlabs
As you can see, sweeps create a white background without shadows or anything that deters from the image. Sweeps are great for producing a consistent white space without the horizon line you get from not using one. It’s a really good way to get consistency in your shots too.
credit@uncommongoods
It’s easy to set up your own sweep setup at home. Just get two pieces of white foam board, make an L shape with them and hold them in place with a clamp and a metal bracket. Now stick your poster board sweep against the foam board, letting it fall in a curved shape.
Great, you need now is your product and you’re ready to go!
credit@pixc
Here’s another way to create a sweep setup using K’nex. It doesn’t need to be an expensive set up, check out your local dollar stores and craft stores to pick up the bits you need.
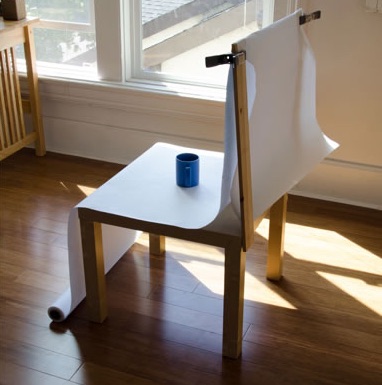
Some people even just use a chair and a thick white paper scroll.
credit@webretailer
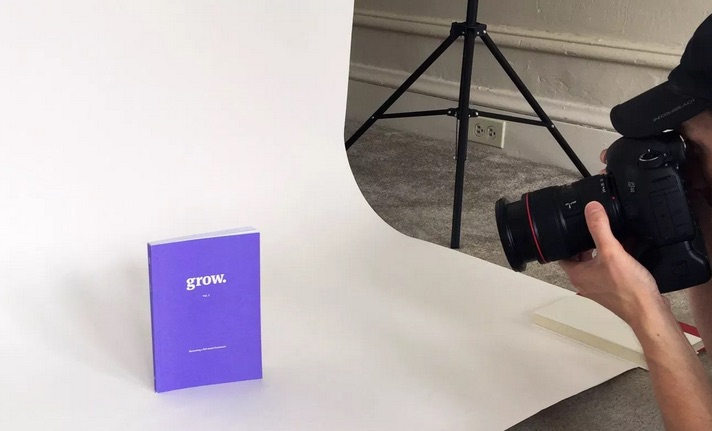
Here’s how it looks in a studio.
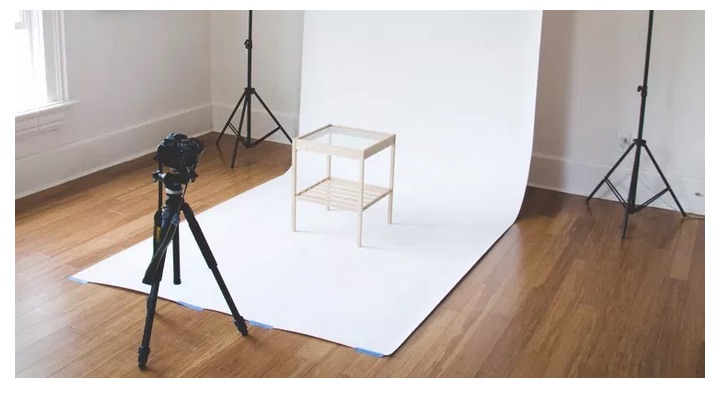
credit@pixc
Now you know how the difference between artificial light and natural light, it’s time to try them out with your products! Don’t forget to take multiple angle shots and also have a go at setting up your own sweep studio; and we’ll be sure to see your product listings on FriendWithA soon!
Have you tried setting up a sweep studio at home? What other advice could you give to other people taking photos for their product listings?


